Pixel Flow Level 208 Walkthrough & Solution
Looking for how to beat Pixel Flow Level 208? This Pixel Flow 208walkthrough shows the easiest solution to complete the level step by step.
Not the Pixel Flow Level 208 You're Looking For?
If this isn't the Pixel Flow Level 208 you need help with, you can use our Image Search feature to find the exact level you're stuck on. Simply take a screenshot of your level and upload it to get instant results.
Try Image SearchHow to Beat Pixel Flow Level 208?
Watch the Pixel Flow Level 208 video walkthrough above for a detailed demonstration of the solution. The video shows the optimal path and techniques needed to successfully complete this level. Pay attention to the timing and sequence of moves to achieve the best results.
Quick Solution for Pixel Flow 208
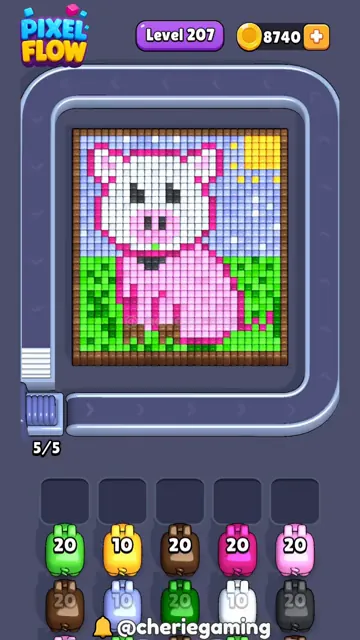
Step 1: Grid Assessment - Observe the 7x7 grid and locate all pixel starting points and endpoints. Identify which colors will be easiest to connect.
Step 2: Plan Path Routes - Mentally trace potential paths for each color. Look for clear corridors that suggest optimal routing.
Step 3: Execute Priority Connections - Start connecting pixels in edge to center. Tap cells sequentially to draw each flow path.
Step 4: Manage Grid Space - As you add paths, be mindful of remaining space. Use compact paths to ensure all pixels can reach their endpoints.
Step 5: Complete the Flow - Finish connecting all remaining pixels. Double-check that every colored pixel has a complete path to its matching endpoint.
Tips for Level 208
Pro Tip 1: Corner Priority - Pixels in corners should almost always be connected first. They have the fewest routing options.
Pro Tip 2: Straight Paths - When possible, use straight or simple paths. Complex winding paths waste grid space.
Pro Tip 3: Space Awareness - Always be aware of remaining grid space. Count cells to ensure enough room for all remaining connections.
Pro Tip 4: Pattern Recognition - Look for symmetrical patterns in pixel placement. These often hint at the intended solution structure.